Virtual instances of operating systems are perfect for all kinds of testing purposes that need to be done in a safe and isolated environment. Installing Haiku in a virtual machine is a solution for people who do not want to install it on their physical computers, but wish to become familiar with it.
This How-To guide will describe the process of running Haiku on virtual machine (VM) using VirtualBox 3.2 There are two ways it can be done– one is installing and running Haiku from CD-ROM image, same way it would be done on a physical instance. Another way is using the already prepared VM hard disk image, for convenience and time-saving purposes. The choice in this decision is left up to the user, although many people prefer VM image as it is easier to manage.
For this tutorial we will be using an ISO image and VM image (vmdk) file - both can be obtained here. The VirtualBox virtualization software and installation manual can be downloaded from here.
Go to section:
Installing and running Haiku from an ISO image.
The following guide will describe installation of Haiku on VirtualBox, using a ISO image.
Step 1. Creating a virtual machine.
After installing VirtualBox and downloading an iso image, we can begin the installation process. Installing operating systems in VirtualBox consists of two parts - first step is to create a virtual machine itself and then configure it to run the desired guest system installation.
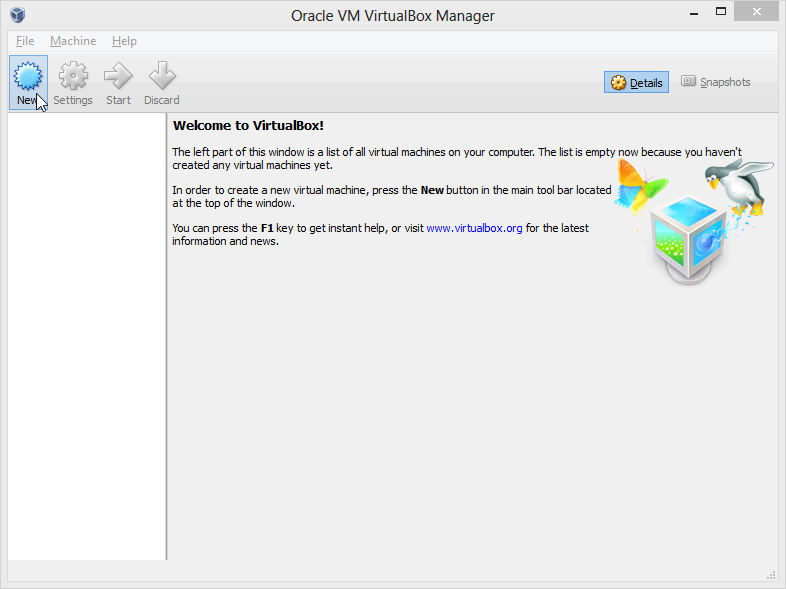
We begin, by clicking the icon New (or pressing Ctrl + N):
We need to specify what kind of guest operating system we are going to install. This is helpful in pre-configuration of virtual machines – it applies default settings for supported OS’s. For Haiku, we are going to choose "Other" for operating system field and "Other/Unknown" for version:

The next step is to define how much of the host’s physical memory we want to allocate for our virtual machine. This decision should be based on the amount of RAM the host has, but it is recommended to spend a minimum of 256mb of RAM to make it run smoothly. More memory can have an effect on the performance of the VM, but too much can slow down the host, so there needs to be a balance between the VM and host machine resources:

After we have done that, we need to create a hard disk image, that is going to be stored on the physical drive, under specified location. We click Create new hard disk (if it is not selected already) and click Create:

Choose VDI and click Next.

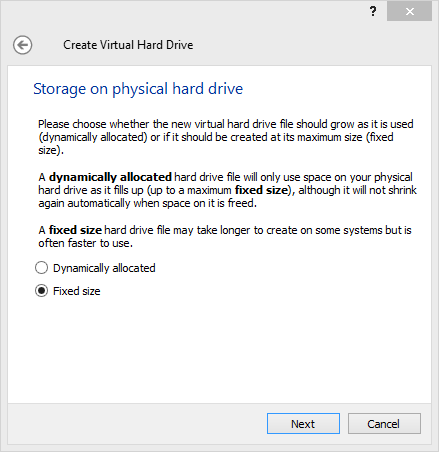
Here we can define how big the virtual hard disk should be. In most cases it is sufficient to use the default option, which is Dynamically expanding storage. This will allow the image file to grow as more content is saved in it, with no lack in functionality:

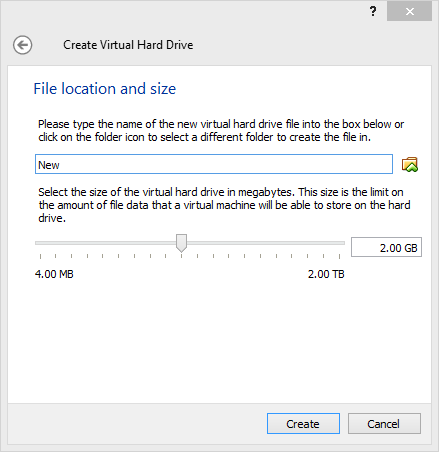
The next slide will ask us for the location of the hard disk image file and maximum size of the dynamically expanding file. Input the values and click Create:

Step 2. Configuring the virtual machine.
Now we need to configure a few settings, to get things to work.
We click on the Settings icon that appeared for our virtual machine:

The settings window allows the user to configure the hardware aspects of the virtual machine guest OS will be using. First of all we need to attach our ISO image with haiku installation to the virtual machine, in a form of emulated CD-ROM drive. To do that, we click Storage from the left panel, and then clicking on Empty in the Storage Tree. Then we click on the CD icon next to the CD/DVD Device drop-down list:

Now we click on Choose a virtual CD/DVD disk file.... In the new window we point to the location where we stored our Haiku ISO installation and then Click Open to confirm. Here is what we will see after that:
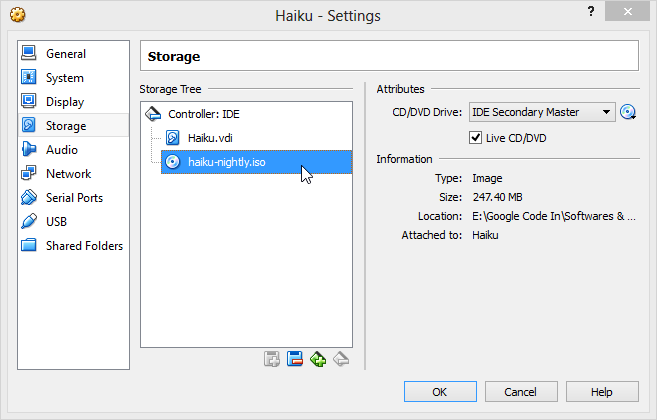
After you are done with configuration, click OK to move back to the main window.
Step 3. Running Haiku installation.
Hopefully, at this point everything is properly configured and we can run Haiku installation. To do so, click the Start Icon (or Machine -> Start) to run the virtual machine. After a few seconds the right GUI should appear and begin the installation of Haiku in virtual environment.
The installation itself is quite simple and does not differ really from a physical one (follow the guides on this page if you are not familiar with installing haiku) although it can appear slower, depending on the performance of the host (takes about 30 to 60 minutes to complete installation). Installing on virtual machine will also require partitioning changes which can be made directly in installation manager. The DriveSetup window should detect two mediums, one is our cd-rom (iso) file and another is a “hard drive” we created earlier. All we need to do is select that drive, go to Partitions -> Initialize, click on Be File System and continue the installation.

And that’s it! After the installation is complete, the virtual machine window will redraw, to simulate rebooting of VM. Unmount the CD image to prevent the ISO loading at each reboot by going to Devices -> CD/DVD Devices -> Unmount CD/DVD Device.
Running Haiku from a VM image
The following guide will describe installation of Haiku on Virtual Machine, using a VM hard disk image.
Begin by clicking the icon New (or pressing Ctrl + N).
We need to specify what kind of guest operating system we are going to install. This is helpful in pre-configuration of virtual machines – it applies default settings for supported OS’s. For Haiku,
we are going to choose Otherfor operating system field and Other/Unknown for version:
The next step is to define how much of host’s physical memory we want to allocate for our virtual machine. This decision should be based on the amount of RAM the host has, but it is recommended to spend a minimum of 256mb of RAM to make it run smoothly. More memory can have effect on the performance of the virtual machine, but too much can slow down the host, so there needs to be a balance between the virtual machine and host machine resources:
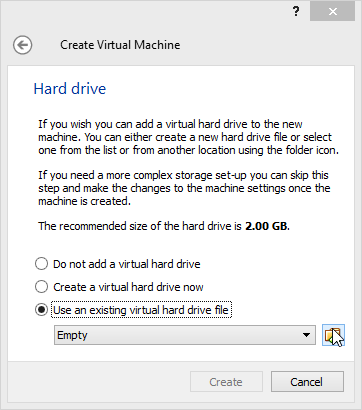
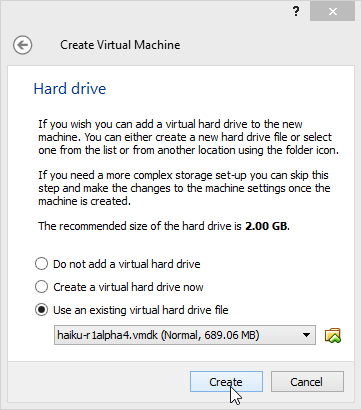
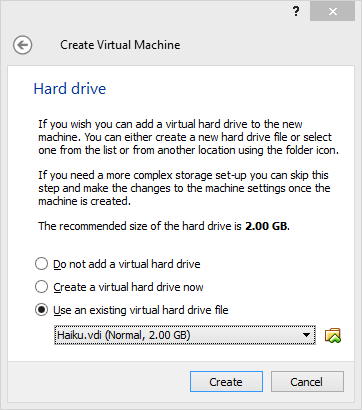
Now, choose "Use an existing virtual hard drive file" and then browse and select the file you had downloaded:
After the image appears, click Create to confirm and move back to the main window.
No further steps nor configuration is required to make Haiku work, so we can move straight to executing the virtual machine. Click on the Start icon to boot VM.
Additional steps
Additional Step 1. Configuring the virtual machine.
There are a few settings that could be changed, for example to improve performance of Haiku. Remember that you need to divide resources responsibly, depending on your host specification.
We begin by clicking on the Settings icon.
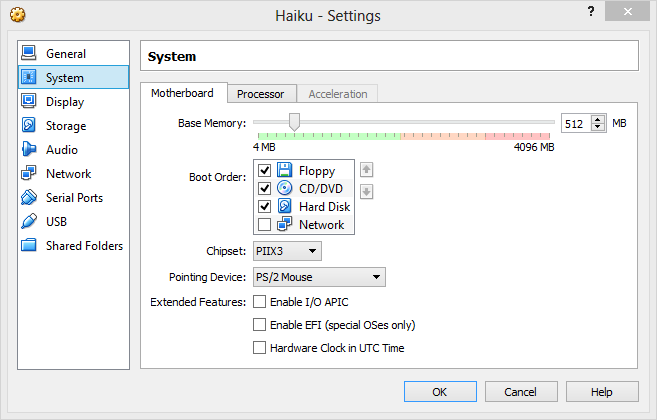
The settings window allows the user to configure the hardware aspects of the virtual machine guest OS will be using.
One of the ways to increase performance if changing the video memory assigned to the virtual machine. On the left panel click Display tab, and move the first slider to the right, to increase the amount of memory assigned. This should allow the GUI to run more smoothly and be more responsive.

Another hint is to enable the hardware virtualization, which by default is disabled. On the System page, click the Processor tab and mark Enable PAE/NX to enable CPU address extension.
After you are done with configuration, click OK to move back to the main window.
Additional Step 2. Adjusting window settings.
One of the inconveniences users experience while using virtual machines are screen resolutions. By default, guest OS’s apply a big screen resolution, causing the windows to have scrolling bars on both sides to navigate in x-axis and y-axis. There are two solutions for that problem.
First solution is simply adjusting the screen resolution using tools built into system. In Haiku we can use the Screen preflet, which can be found under the Preferences menu. By changing the resolution the user will then notice that size of the VM window has now changed.

Another way, is to install VirtualBox Guest Additions. They are designed to be installed inside a virtual machine after the guest operating system has been installed and consist of device drivers and system applications that optimize the guest operating system for better performance and usability (including graphical interface). Unfortunately, there is no support for Guest Additions for Haiku yet, meaning for now the GUI needs to be controlled using system tools. As soon as Guest Additions for Haiku will be released, this guide will be updated. For now that is the only way to solve that problem.
Additional Step 3. Expanding the size of the VM hard disk image.
Often users find the size of original VM Haiku image not big enough to fulfil their needs. By default that size is about 600mb and in this step we are going to expand it. There is a way to do it, but it’s not as easy as it sounds. Just like a regular hard drive, once created, its physical boundaries cannot be expanded any more (the size of the disk, not partitions). The solution could be reinstalling, or cloning the content of smaller hard drive into bigger one. That is exactly what we can do in this situation.
First we need to create a new hard disk of fixed size. Open Virtual Media Manager (Ctrl + D) and click New icon (or Actions -> New). Then click Next.
Choose the Fixed-size storage option and click Next. On the next slide choose a name, location and size for a .vdi image and click Next.
Click Finish to confirm action.
For the next step we will need to switch to the command-line environment, to perform the cloning process. These steps need to be done on the host OS. Depending on OS installed instructions may vary (see here to get more information). Open the terminal/console and navigate to the location where VirtualBox was installed and run the following command:
VBoxManage clonehd [location of .vdmk VM hard drive image] [location of hard drive we created earlier] –-existing
for example: (Windows host platform)
“C:\Program Files\Oracle\VirtualBox\VBoxManage.exe” clonehd C:\haiku-r1alpha2.vmdk C:\new.vdi --existing
After executing this instruction the progress calculator will appear and return the uuid when finished.

Now all we need to do is to re-create the virtual machine using steps described here, only changing the hard drive to the one we just created (new.vdi).
After the process if completed, we can delete the old, smaller hard drive VM image, and boot the new one we have just created.
Custom VESA Resolutions
Example:
VBoxManage setextradata "VM name" "CustomVideoMode1" "1400x1050x16"
Troubleshooting
1. Haiku cannot connect to the internet
There are some known issues with the network cards on VirtualBox virtual machines. The symptom is simply the inability to connect to other computers over the Internet. A solution to this problem is as follows:
Go to the settings of Haiku virtual machine (it needs to be shutdown first) and click Network -> Advanced-> Adapter type -> Intel PRO/100 MT. Accept changes by clicking OK.

Now the network services should be working properly.
2. USB mice are not working in Haiku when using a Virtual Machine
Sometimes when there is more than one pointing device installed on the host OS, the secondary devices does not fully cooperate with Haiku VM. This is a known issue which can be easily fixed by the use of Virtualbox Guest Additions, as it is connected to mouse integration. Because Guest Additions for Haiku are not implemented yet, the only solution for that problem is to keep on using the primary pointing device, or make the USB mouse the main pointing device. This should be fixed as soon as Guest Additions for Haiku are officially released, but for now, there is no easy way to solve this issue.